


An iPhone is capable of taking some astonishing photos—look no further than Apple’s “Shot with iPhone” campaign for proof—but as always, understanding your tools is the first step to creating great things with them. Of course you’ll know how to take snaps with your iPhone, but there are all sorts of oft-forgotten little features that you can use which unlock a whole range of tricks for getting photos that are more accomplished, more creative, or just plain more fun.
We’re going to assume you know the basics of opening the camera app and taking a shot, and that you know you there are great apps such as Instagram, VSCO, Pixelmator and Waterlogue that can apply filters or do desktop-style image editing to make your photos really shine. What we’re interested in here is the pro stuff—some of which, to be sure, will be limited to more recent models, but most will be applicable to most iPhones still in use. Ready? Say cheese!
Set focus and exposure—and apply exposure compensation
You probably know that you can tap somewhere on the screen when you’re in the Camera app to tell your iPhone specifically where to focus (even if it has recognized faces in the scene and decided to prioritize them) but this also sets the exposure, that is, how bright or dark the image is.
Traditional (and now of course digital) photography has a concept called exposure compensation, the idea that you let the camera decide how best to expose the scene, but then you give it a nudge—expressed usually in thirds of a “stop”—brighter or darker, to better reflect the shot you want to take. You can do this on an iPhone too, but it’s much less technical; tap on your subject, then drag the little brightness (sunburst) symbol next to the focus square up to make the picture brighter, or down to make it darker.
Lock focus and exposure
Usually the iPhone will focus and expose a shot fresh each time, since that is indeed what you usually want, but there are times, usually for creative reasons, that you want to lock the focus and exposure.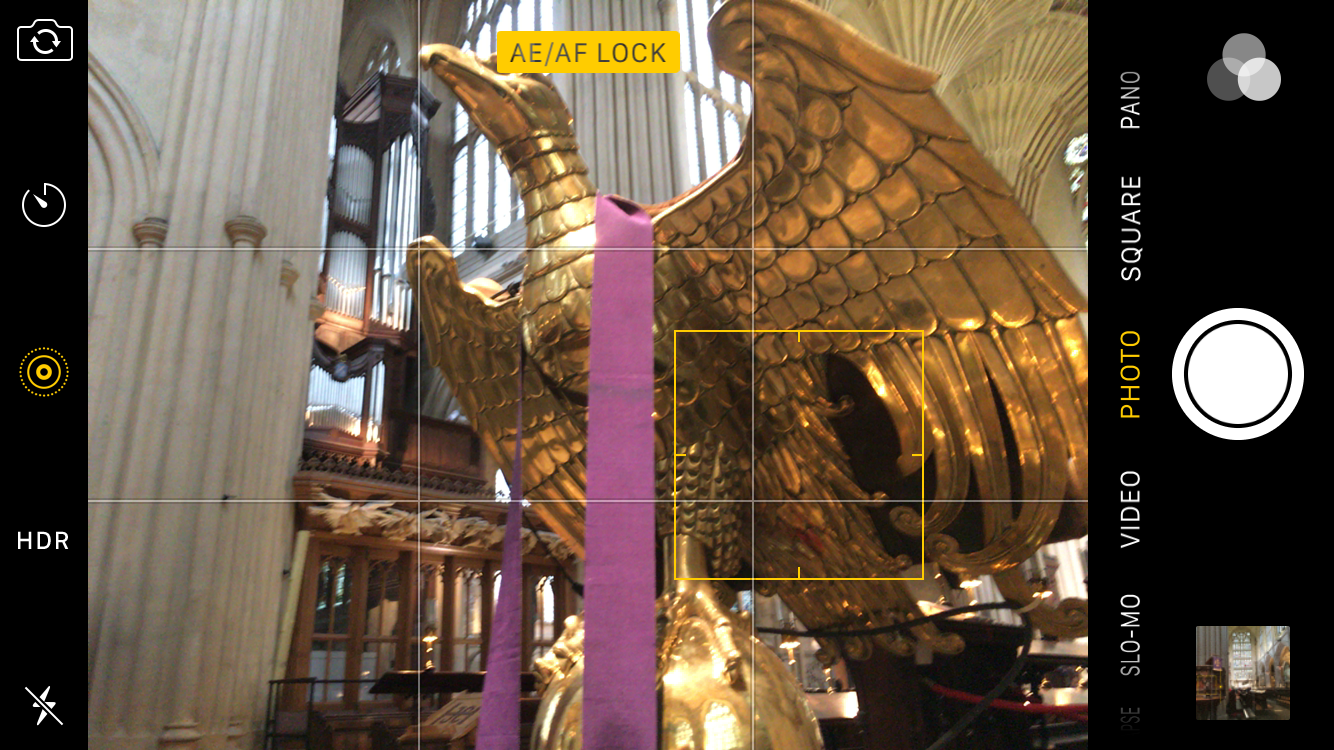
Use a hardware shutter
You can use the physical volume buttons on the side of your iPhone to take the shot rather than the big onscreen button—handy if you’re holding the phone at an awkward angle—but this also extends to headphones (including the bundled ones) that have inline volume controls on the cable.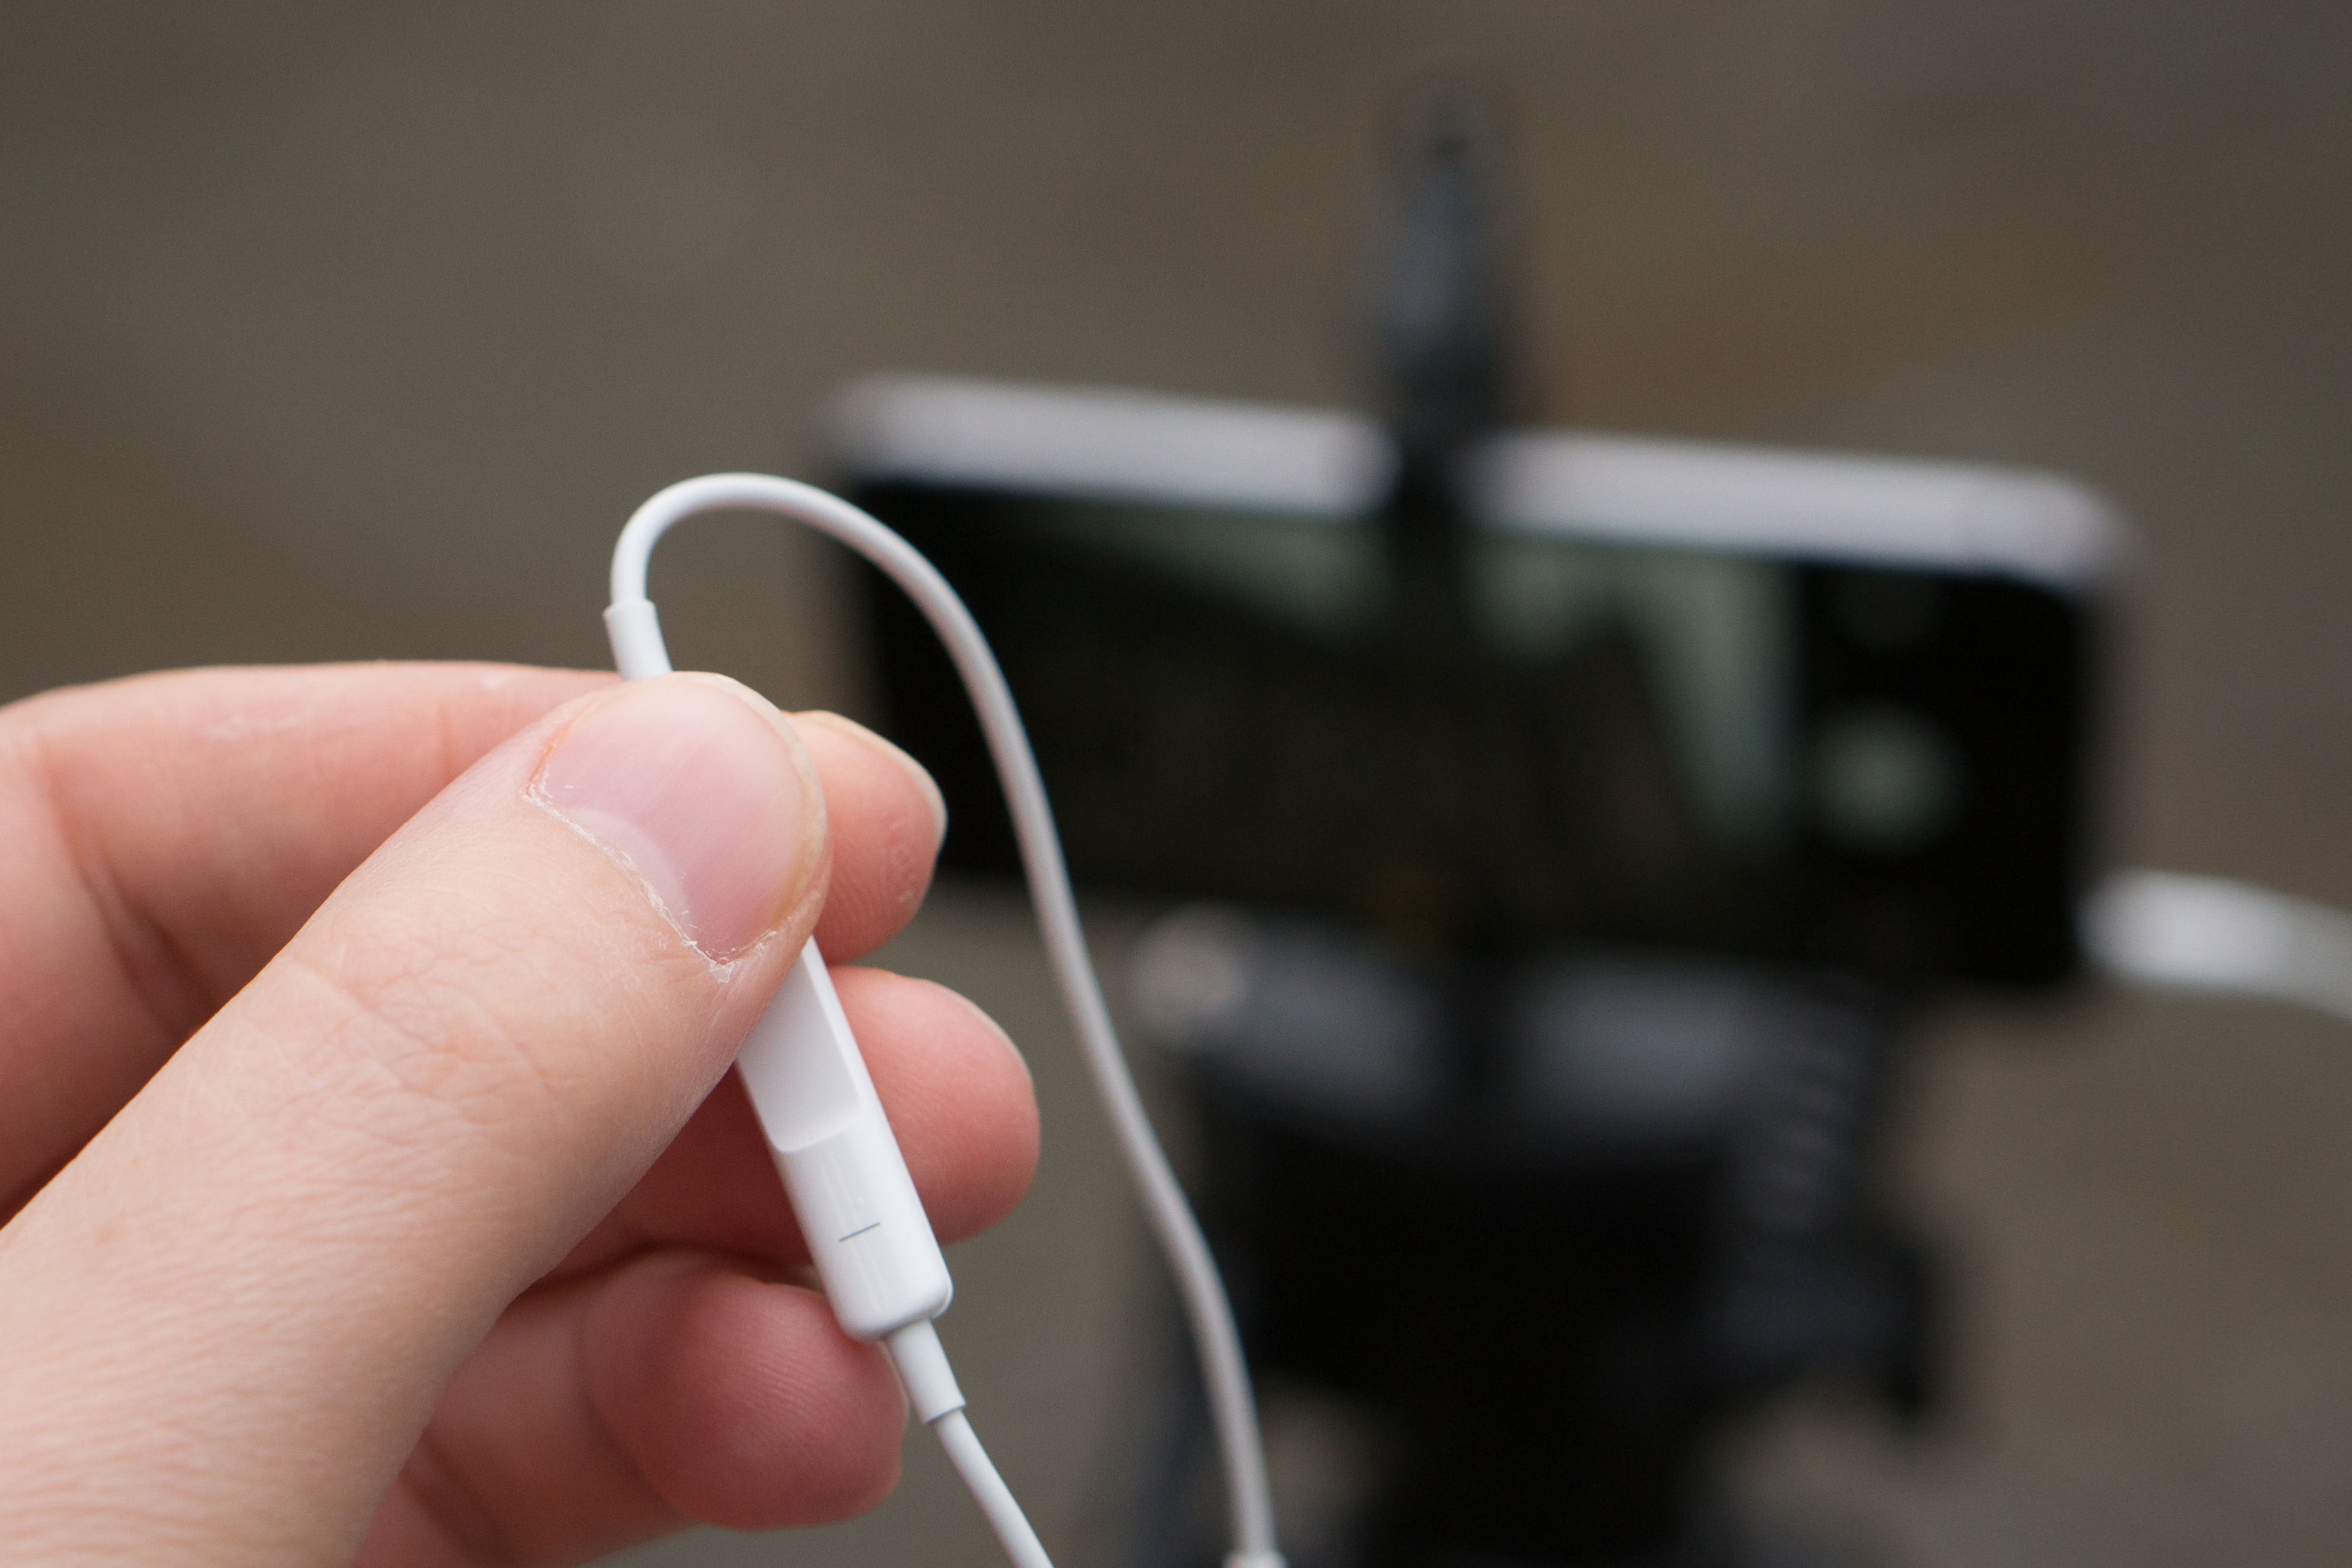 Christopher Phin
You can go one better: there are remote controls that connect over Bluetooth (whisper it: selfie sticks), but if you have Bluetooth headphones with volume controls already, they should work too as a completely wireless shutter trigger.
Using your Watch as a viewfinder and trigger
If you have an Apple Watch, remember that you can use it to see what your iPhone’s camera is seeing—useful in surprising situations, such as when checking the tops of cupboards for lost items or contorting yourself down the back of the TV trying to take a shot of its serial number—and for triggering a shot.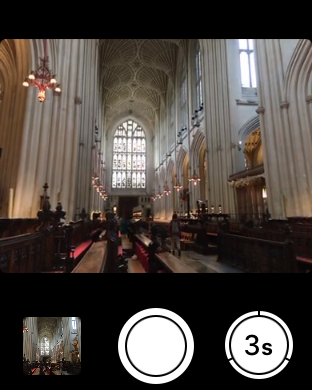
The self-timer
There’s a self-timer on the iPhone as well, either a two-second one—more on this below—and a 10-second one which is great for those press-the-shutter-run-back-into-shot-then-hold-a-grimace-way-past-the-point-you-think-it-should-have-triggered shots. You might be able to prop your iPhone up against something for these, but consider a tripod for more control and better results if the shot is important. (See the last section for more on tripods.)
Reduce camera shake
Although things have improved dramatically, the iPhone can still struggle in low light, such as at dusk or indoors. To compensate for the low light it will often take longer exposures, and so if you’re not holding your iPhone completely still the scene will get a bit smeared. (The 6 Plus and 6s Plus have optical image stabilization to help mitigate this.)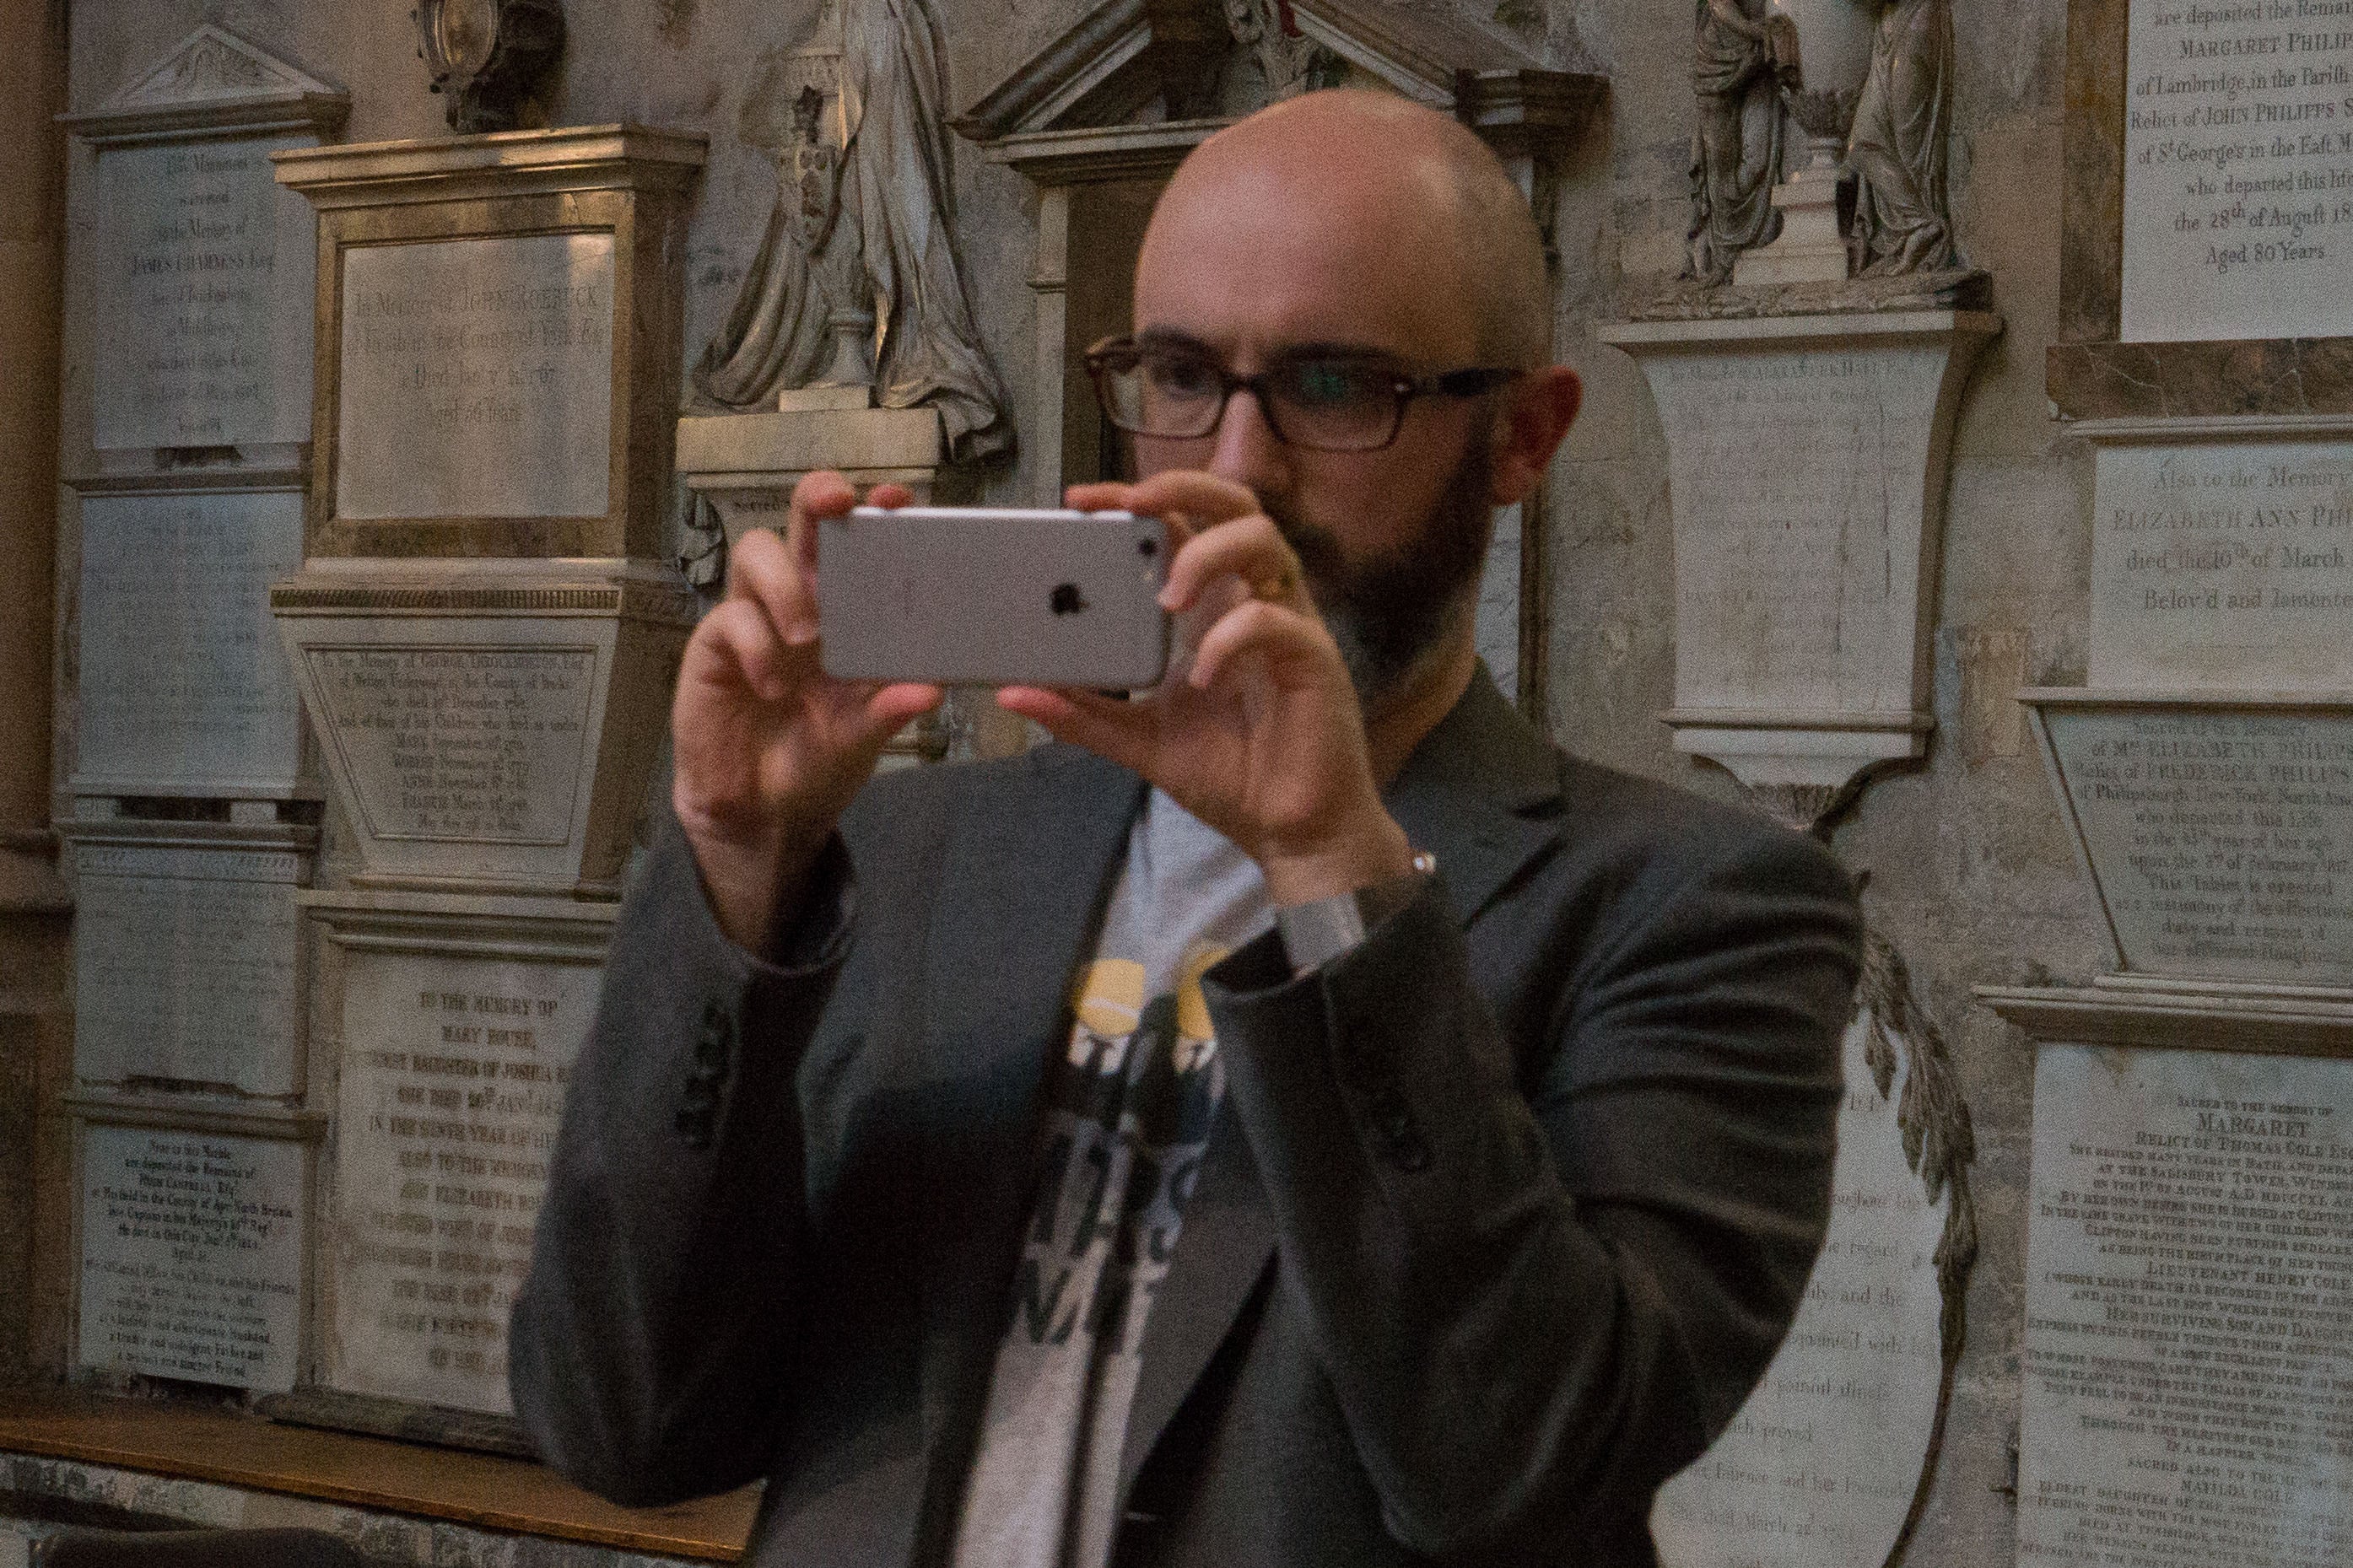 Christopher Phin
Or you can use the two-second self-timer. With this, so you’re not actually pressing a shutter when you’re taking a shot and so shaking the camera with the simple act of doing so, you enable the timer, press the shutter, then in the two seconds before the camera actually takes the shot, brace yourself and hold the iPhone firmly.
Use Burst mode
One of the reasons pros are able to get such great portrait shots for magazine covers is because some take many dozens or hundreds of shots and just pick the one that captures a fleeting expression or a moment of delight or seriousness. You can do the same with your iPhone, and it’s great for getting the perfect shot of your kid grinning or your dog’s guilty look when you discover him tearing up a cushion.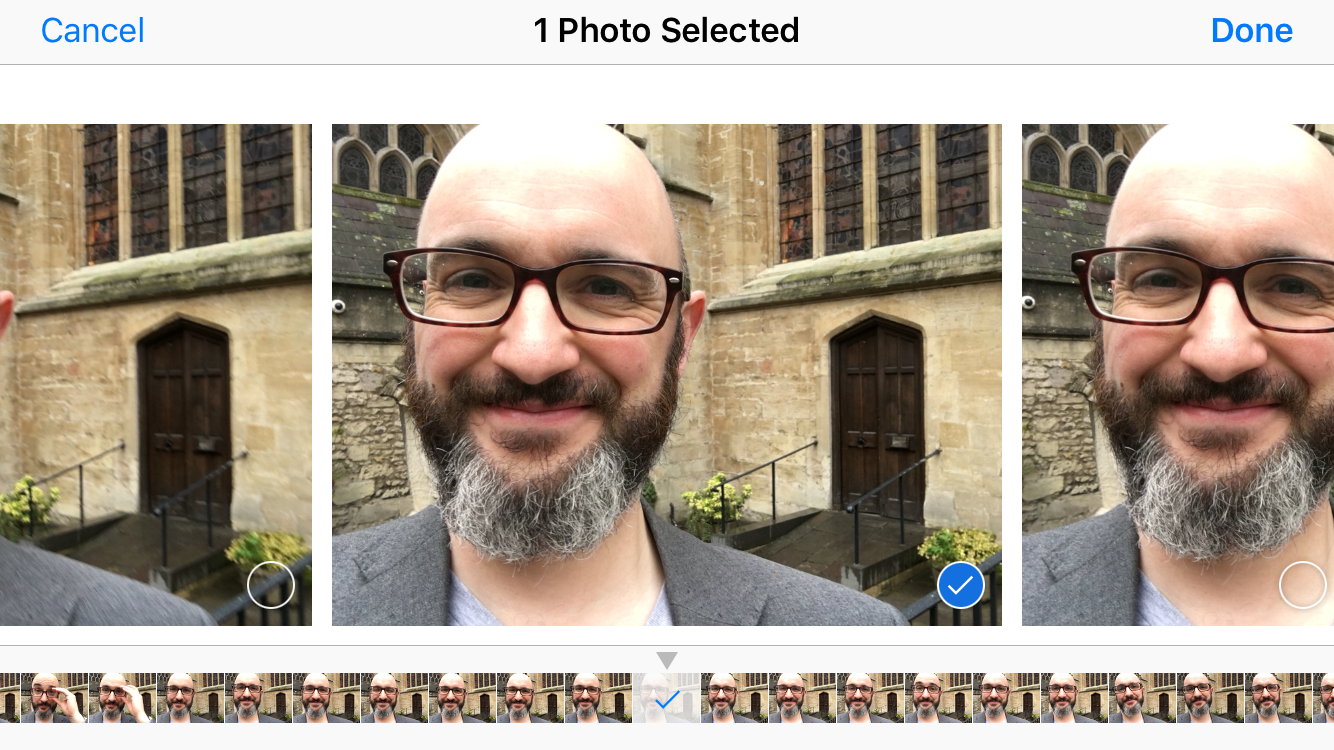
Quickly jump to a specific shooting mode with 3D Touch
If you have an iPhone 6s or 6s Plus, press hard on the icon for the Camera app on your Home screen and you’ll get the option of jumping straight to slo-mo, video, selfie, or regular photo mode. (It’s worth reinstating the Camera app back to your first screen of apps if you’d previously banished it because of the Control Center button for launching it, partly for this direct-mode-launch feature but also because Touch ID is so fast on the 6s-generation devices that you never get the chance to see Control Center from the Lock screen!)
Add a macro mode to your iPhone
This is the only time we’ll recommend a third-party app here, and although it does have filters (such as the dramatic, lovely Clarity Pro), we’re not strictly recommending this app for that. No, one of Camera+’s best shooting features is that it can lock the lens elements in your iPhone so that it can take photos much closer to its subjects than the built-in app can. The focal range is small so you have to have a steady hand and a compliant subject, but the results can be terrific—and it has a 3D Touch Quick-Launch menu like the regular Camera app, including an option to go straight to macro mode.
Turn on the Rule of Thirds grid
Though shots can look great with their subject dead center, you can usually make your shots look better, more dynamic and flat-out more professional if instead you embrace the “Rule of Thirds”—and you can easily do this if you switch on the grid in Settings > Photos & Camera. Now, use those lines as a guide, positioning a horizon along the bottom horizontal line, lining up a standing subject with one of the verticals, or the eyes of a close-up portrait at one of the upper points where the guide lines cross, say.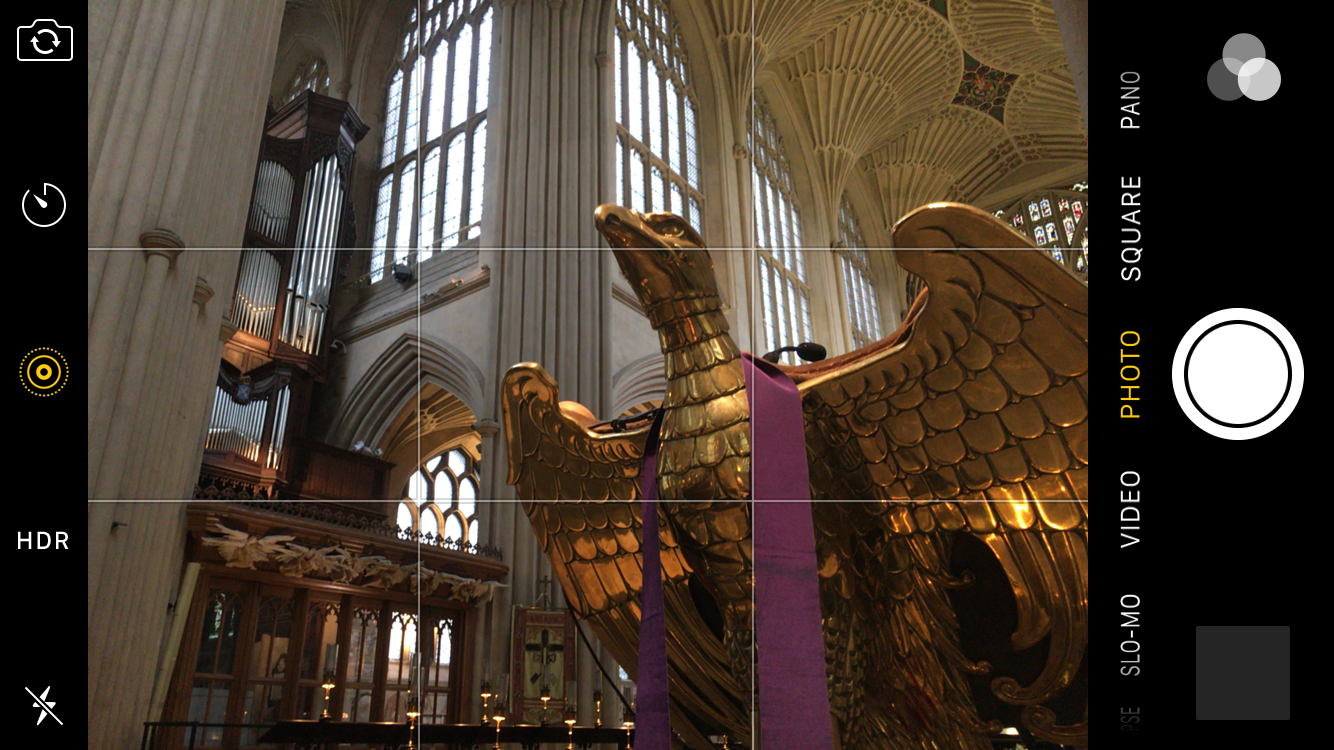
Take shots in HDR—but keep the original too
Even if you have a tiny-capacity iPhone, if it’s capable of taking HDR shots, turn that feature on (or leave on Auto so the iPhone decides when to use it) but also turn on the option in Settings > Photos & Camera to save the original shot too.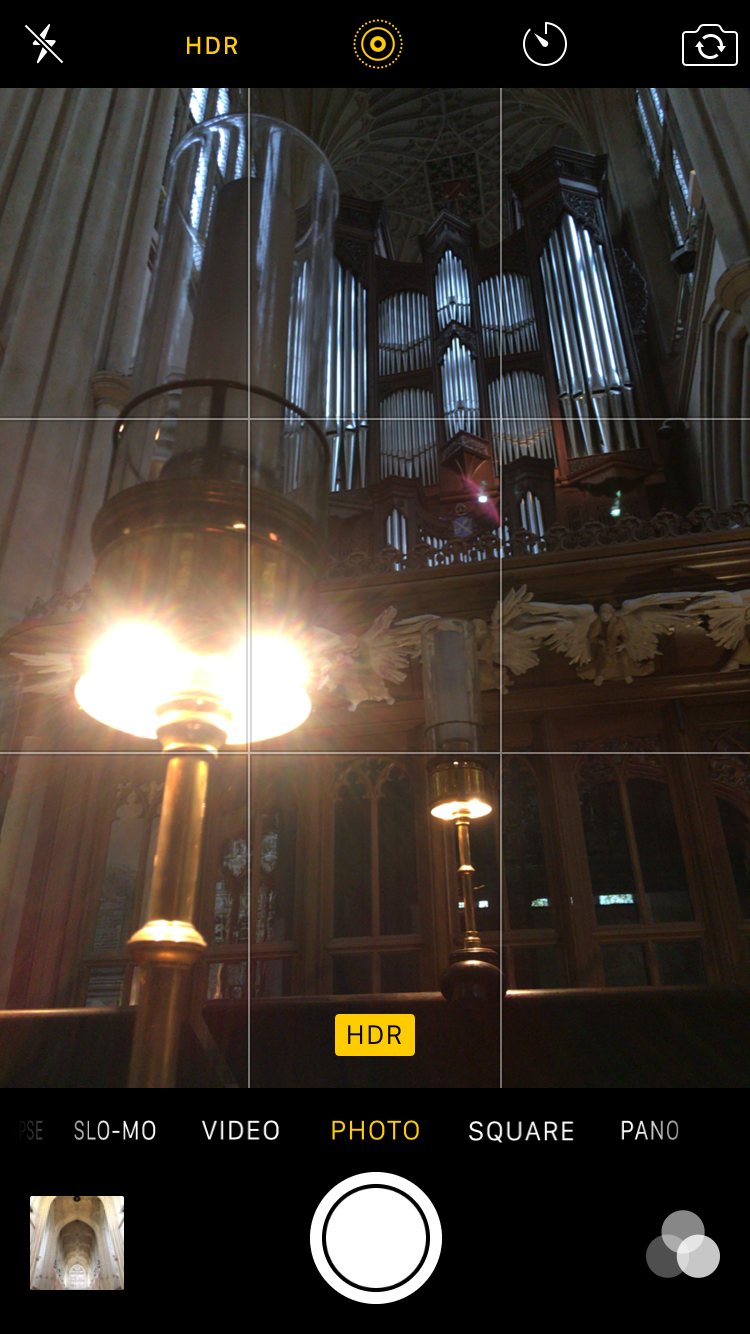
Go nuts with filters
You might think that the filters you can apply when you’re taking photos—look for the three-overlapping-circles icon at the bottom right—mean that the effect is permanently “baked into” your shot, but that’s no so. Even though the filter looks like it’s applied when you view your photo in your Camera Roll, actually what your iPhone has done is save the unfiltered photo along with an invisible tag that says “shove the filter in front of this image when displaying it.”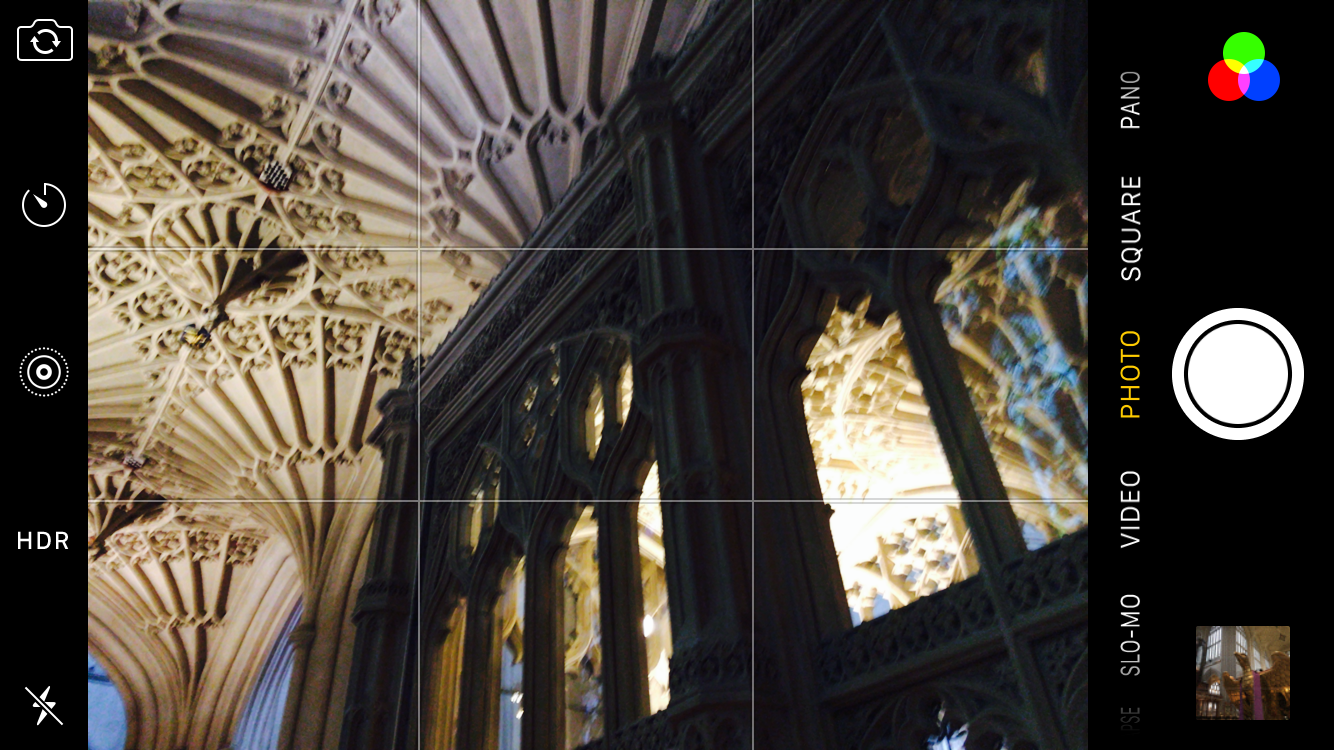
Add accessories—but be choosy
There is a dizzying array of additional bits of hardware you can buy to take your iPhoneography—blast, thought we’d get to the end without using that word—further, but a great deal of it is frankly a bit, well, novelty. Here’s some genuinely great buys that we both like a lot and use a lot: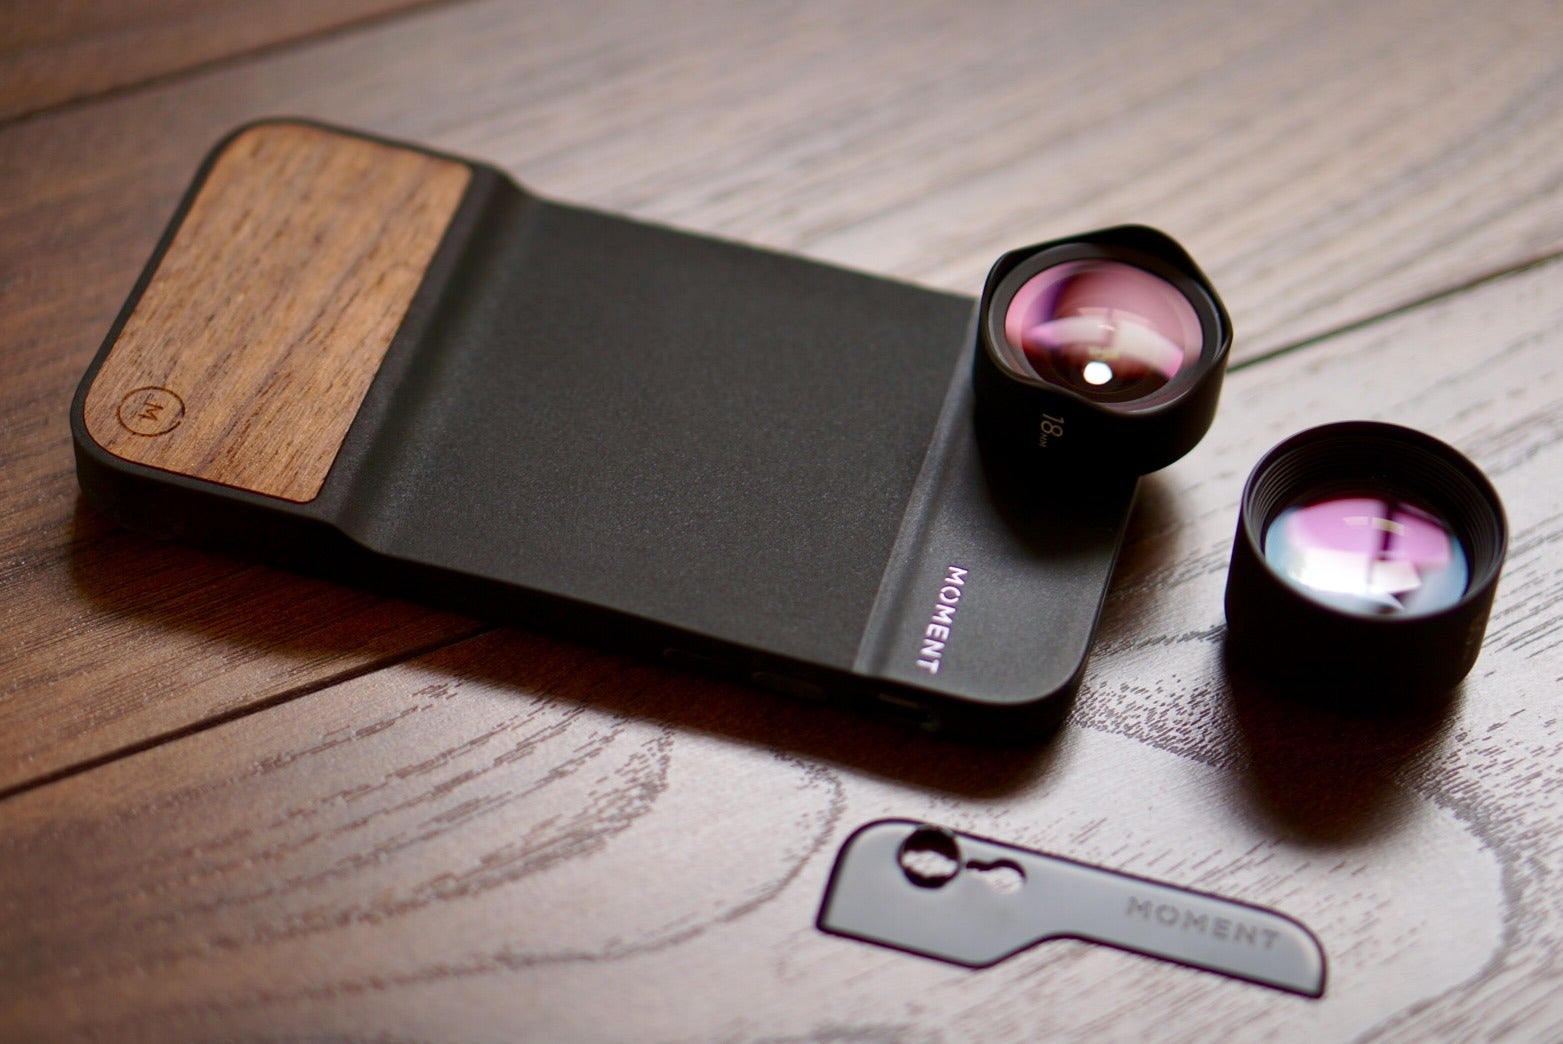 Christopher Phin
- The Glif adapter works with any smartphone, and lets you mount it on a standard tripod thread.
- The lenses from Olloclip can be easily slipped onto your iPhone, and give you creative options such as macro, telephoto and wide angle. But although they’re not as easy to slip on and off, we really love the lenses from Moment; really bright, clear glass, and the camera case (above) and accompanying app are useful too.
- Manfrotto SMT LED light is a rechargeable, three-level LED lamp. It’s never gonna replace proper pro lighting rigs, but it gives a nice little boost, especially when you’re shooting video. The tripod mount lets you position it where you like.
- The Mophie spacestation comes in especially handy when you’re taking photos with your iPhone on vacation, say. Not only is it a 6,000mAh battery to keep you shooting for longer, but it comes in 32 or 64GB capacities, so you can offload photos and videos to it so you won’t run out of space on your iPhone.


